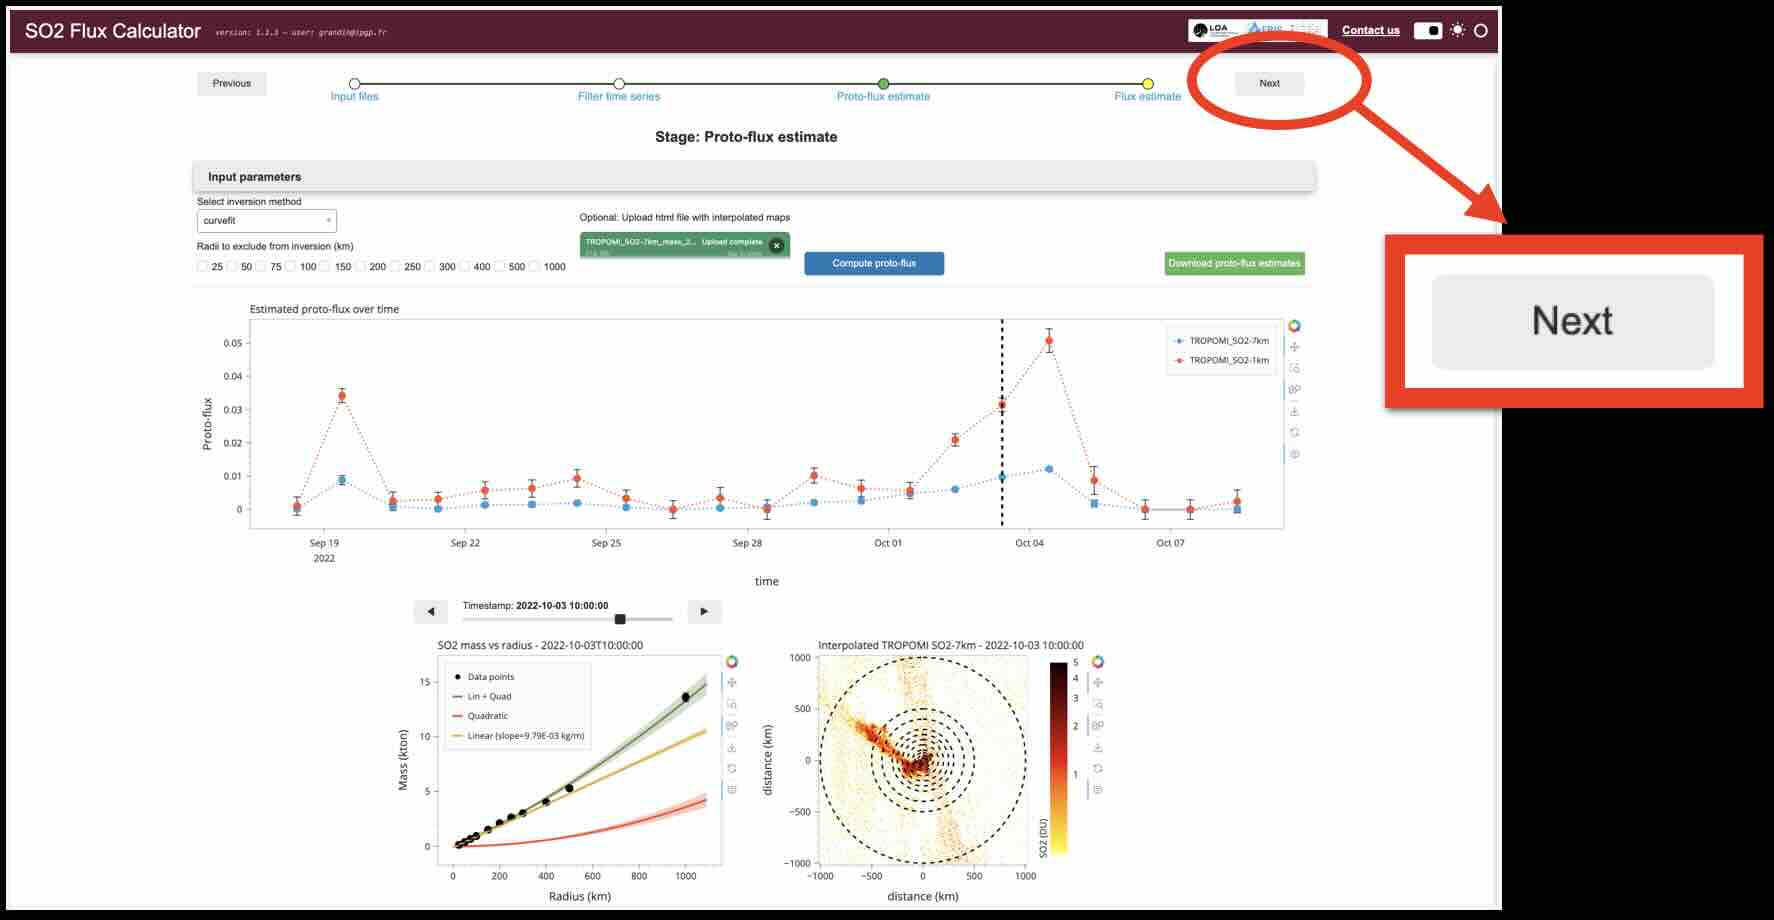
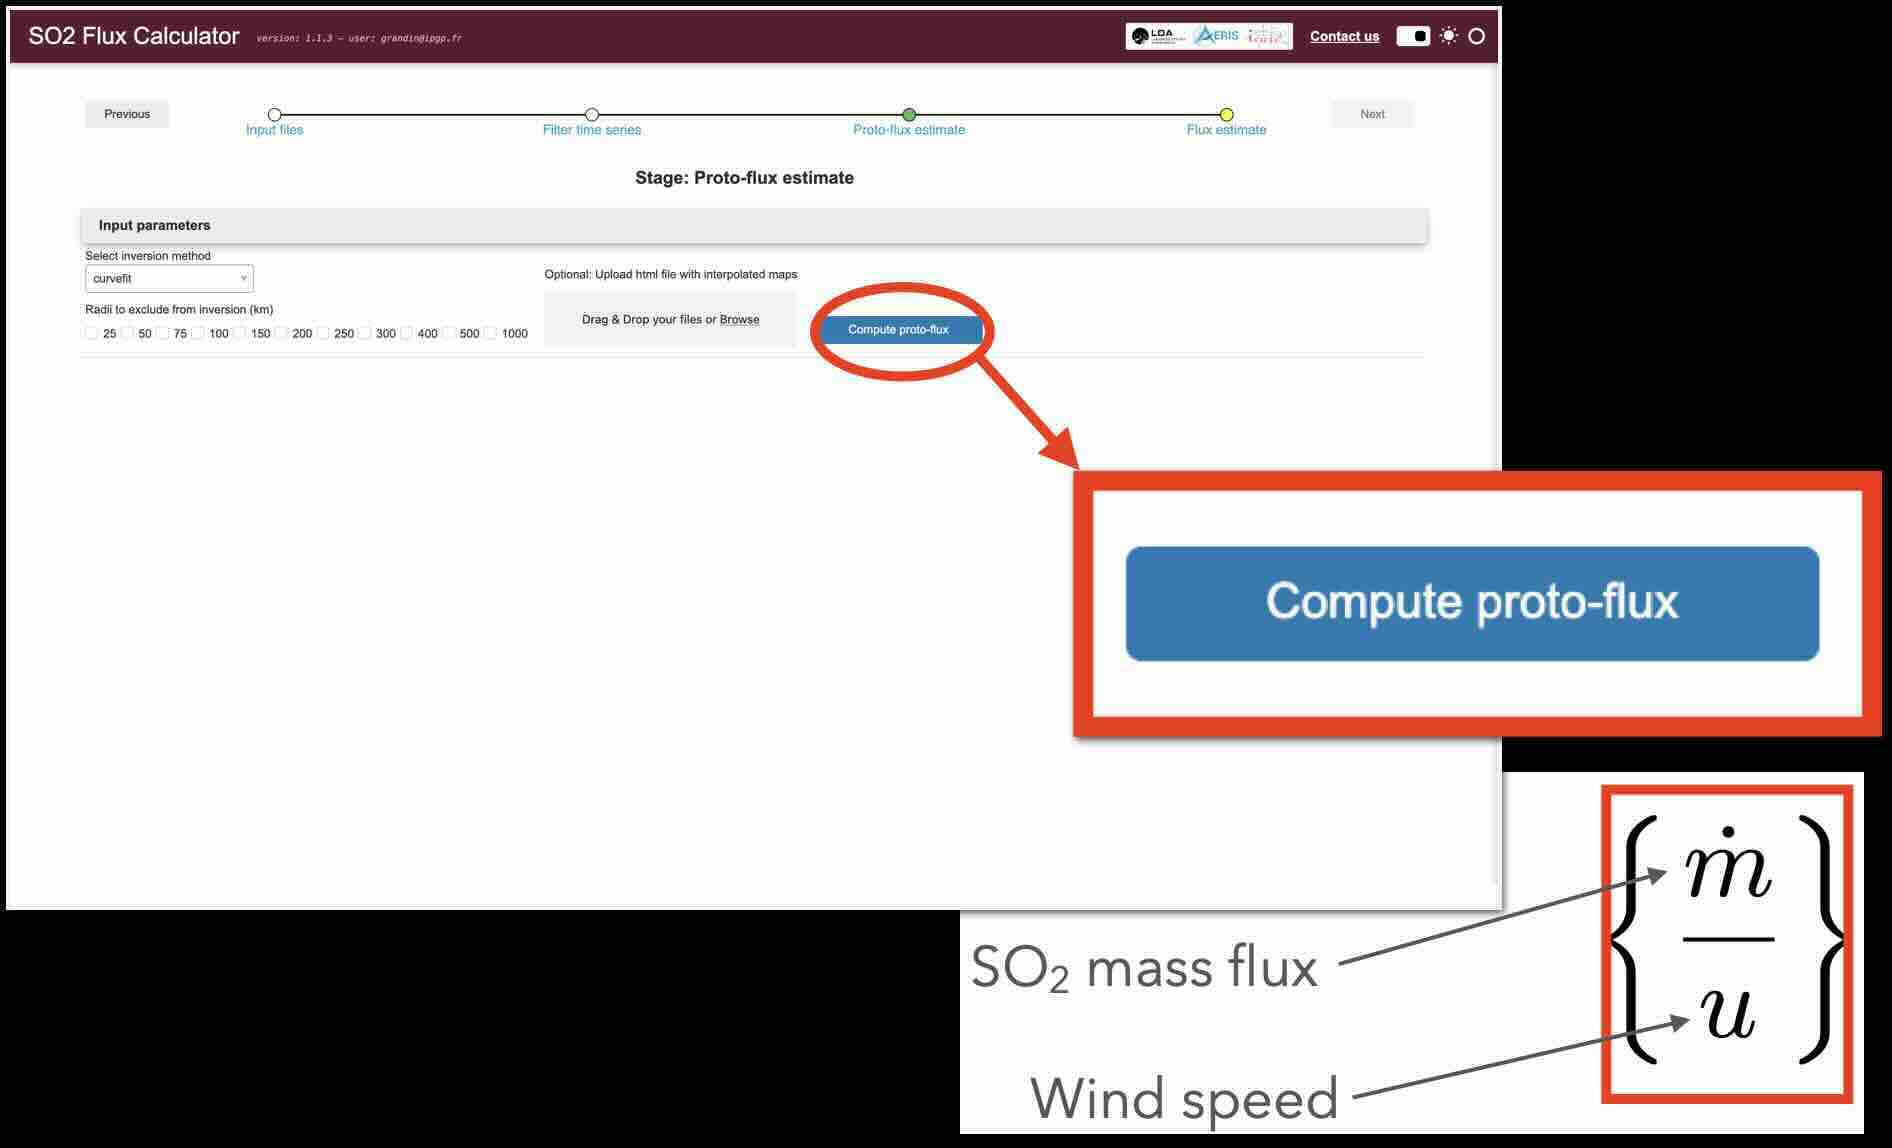
The next step consists in running the inversion.
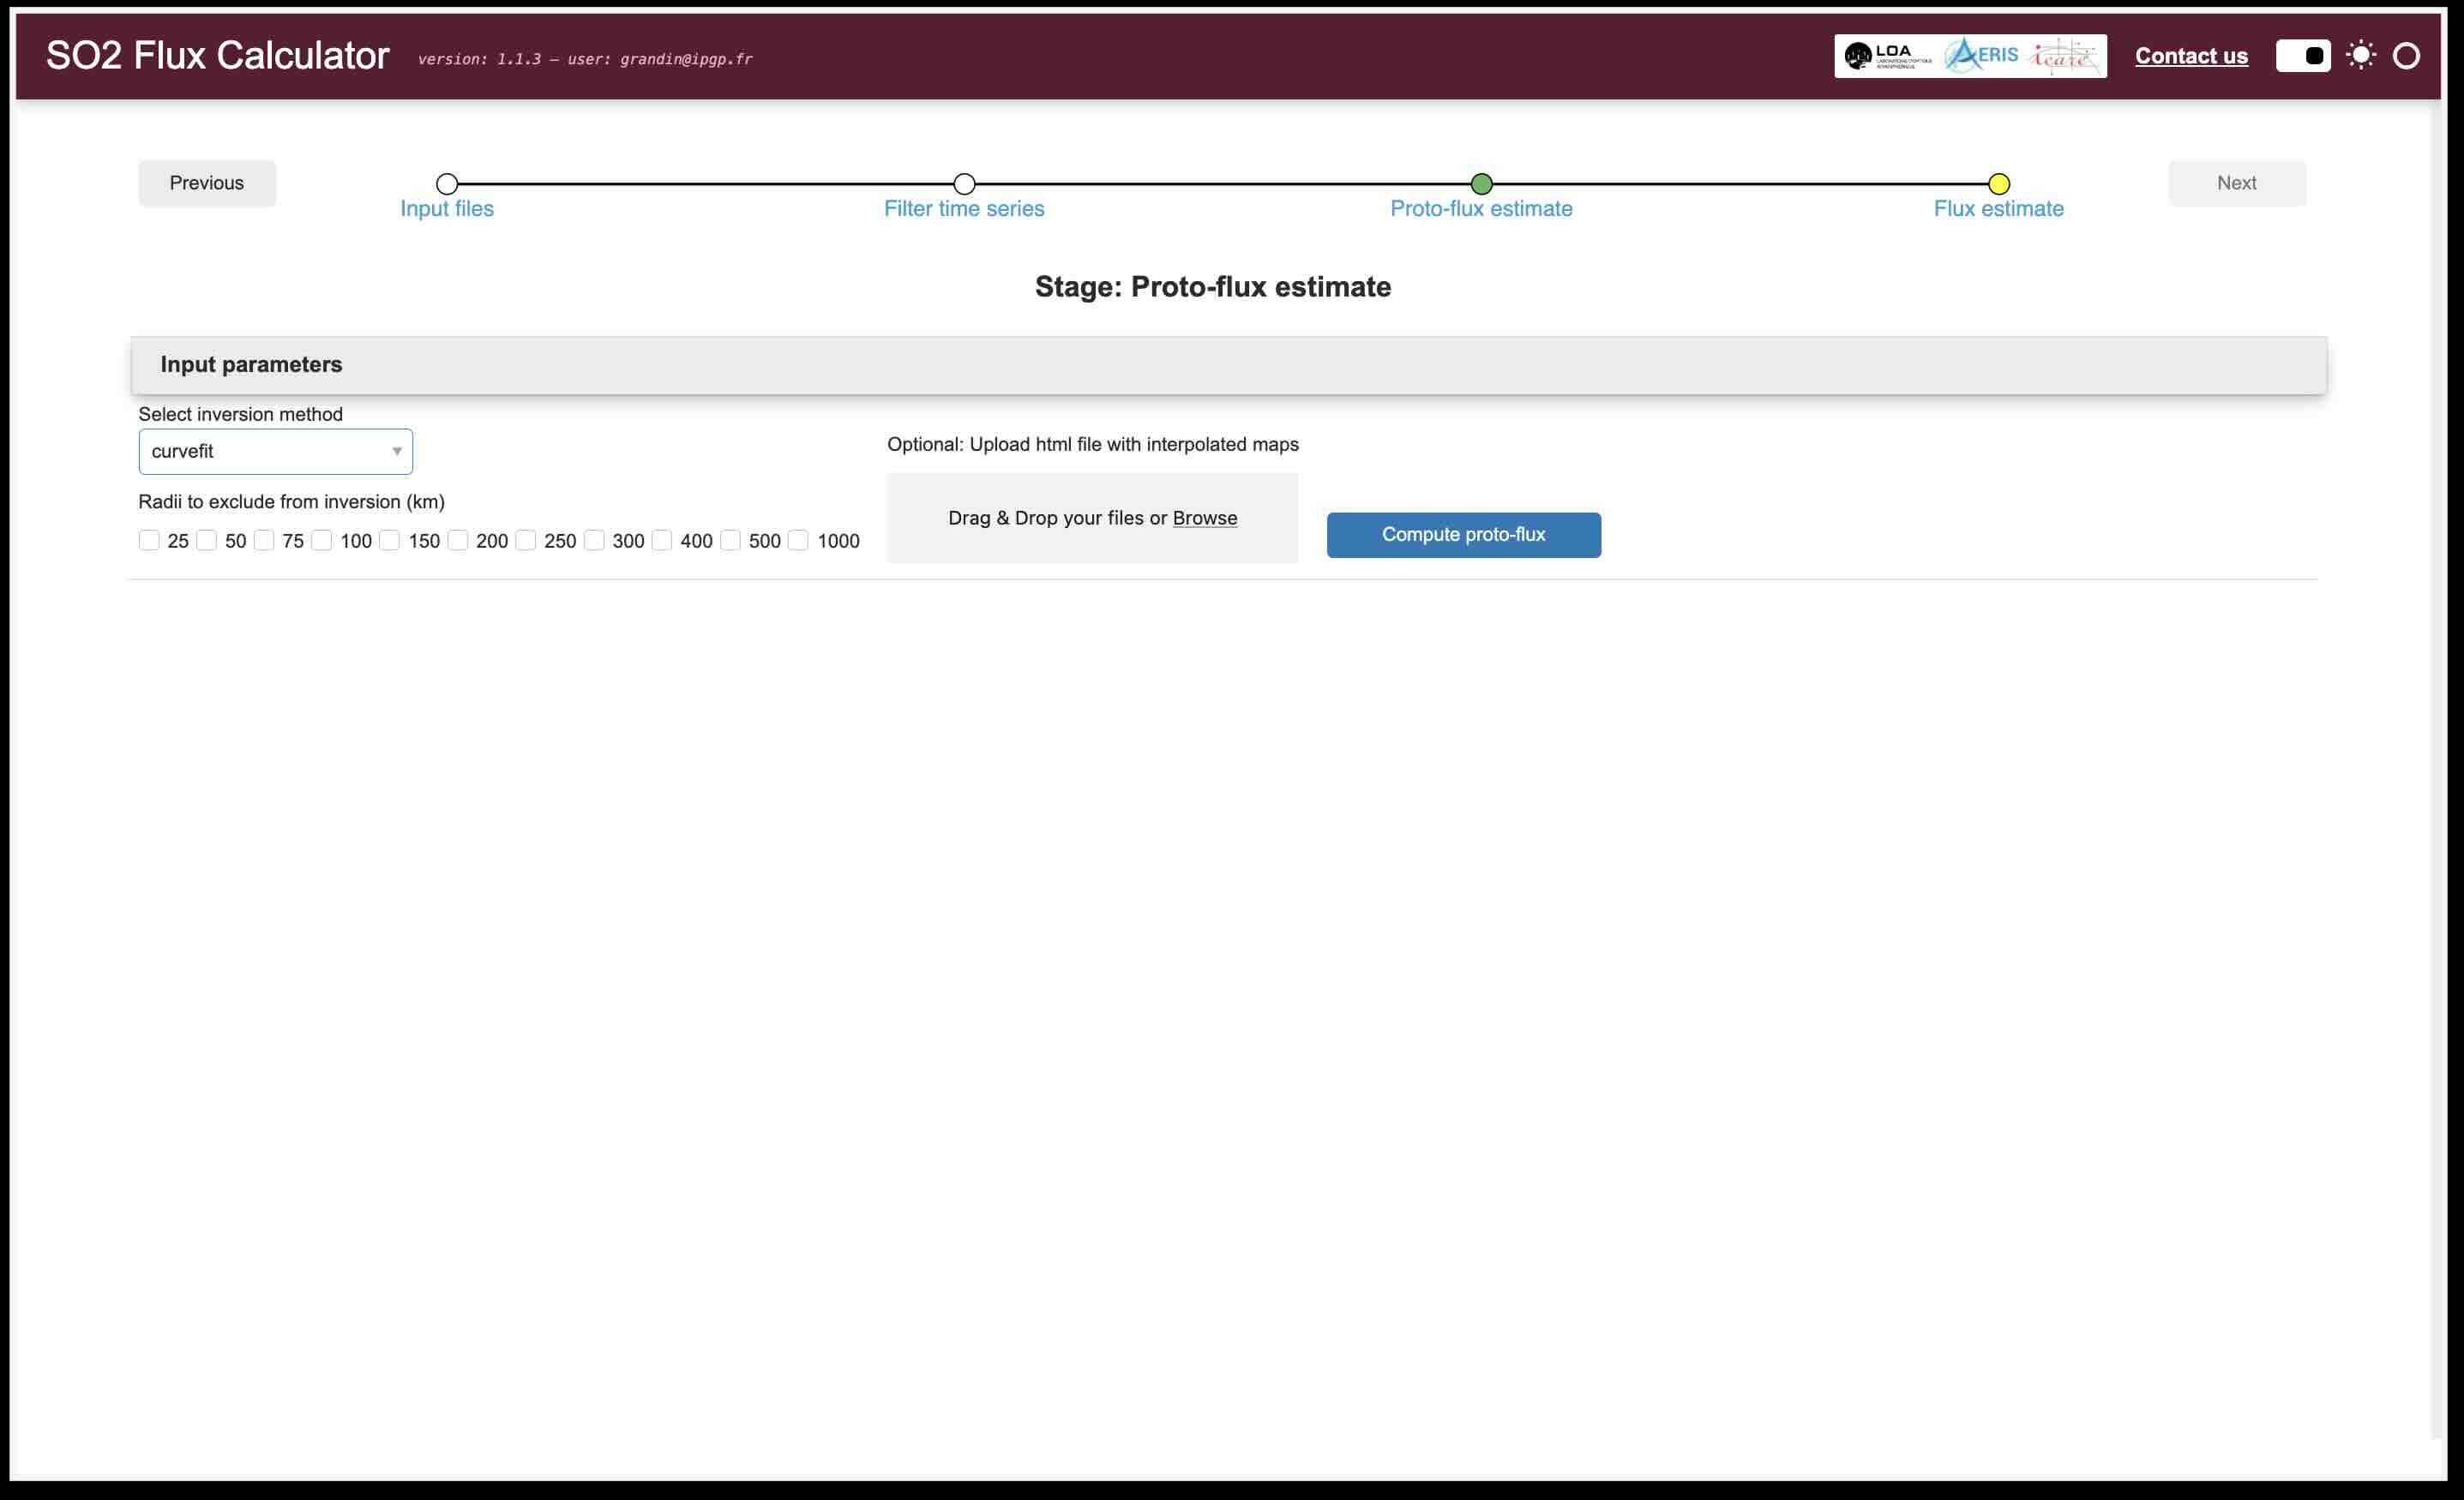
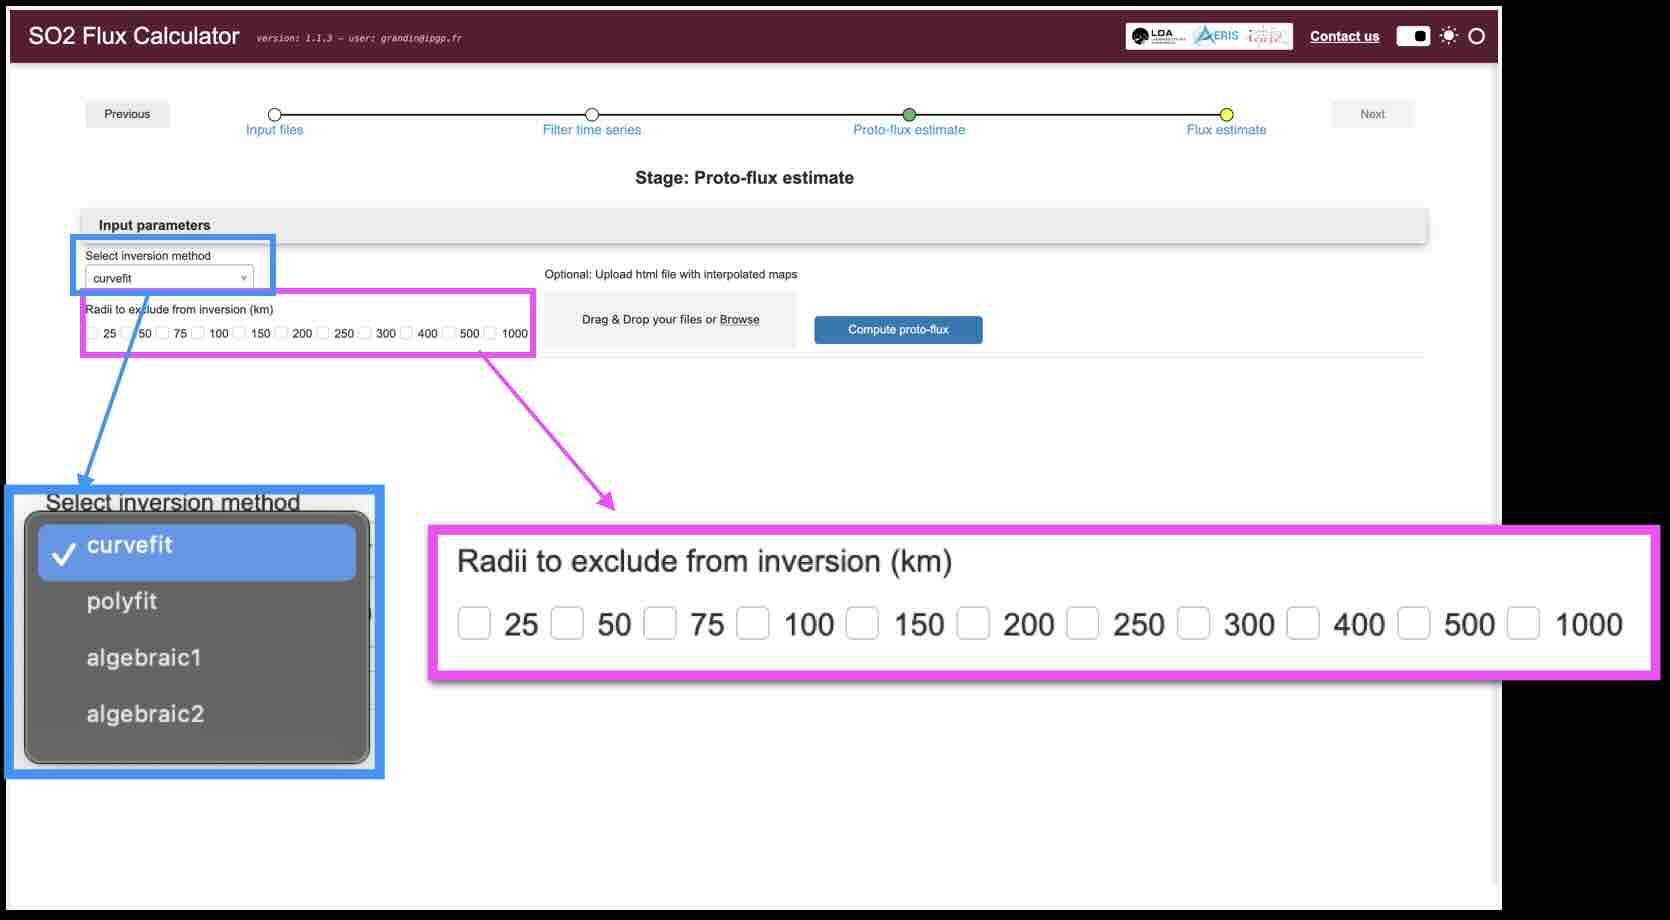
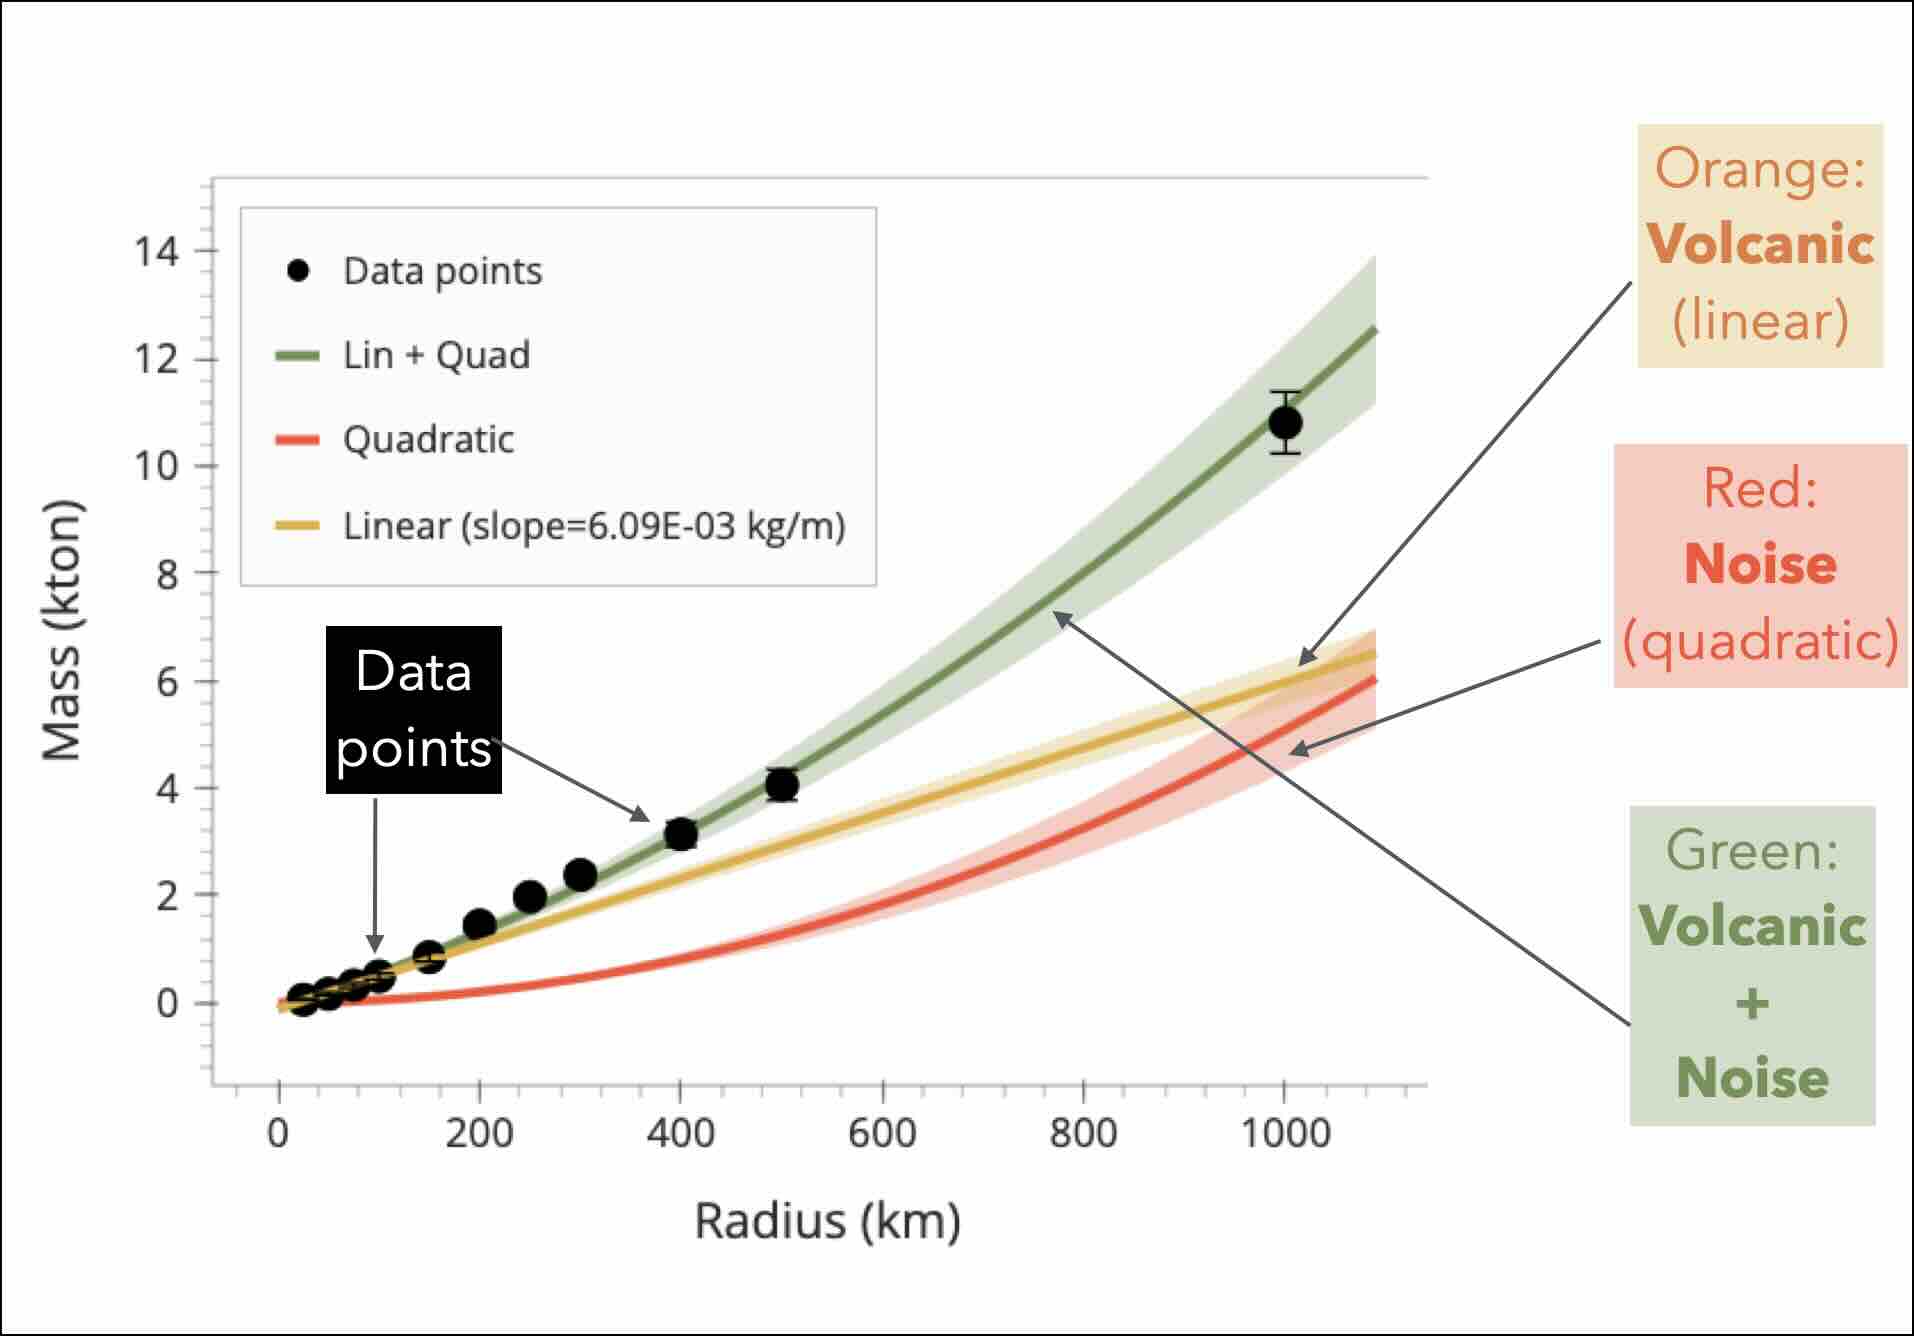
Prior to running the inversion, you may choose the inversion method (curvefit is recommended). You may also discard certain radii from the input data provided by the inversion, by clicking the corresponding boxes. This may be necessary for large radii (typically >500 km) if you notice that the plume never reaches that far from the source.
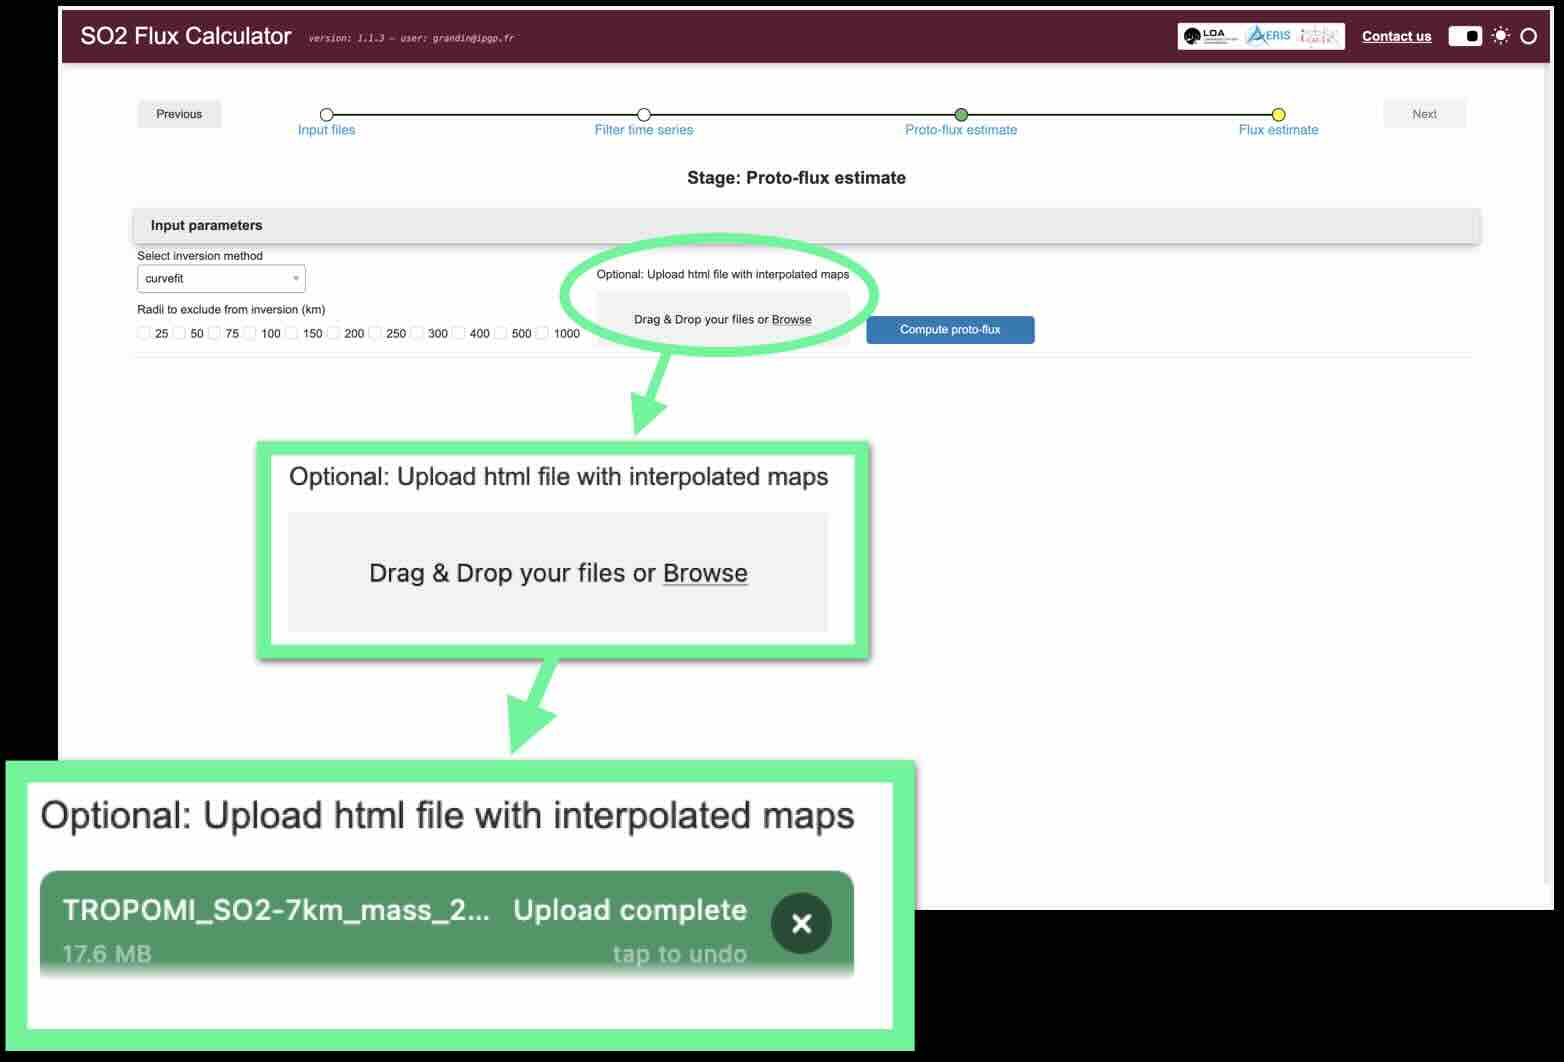
Optionally, you may upload the satellite image time-series (in .html format), which is helpful at the next step to scroll between consecutive days.
To trigger the inversion, click on Compute proto-flux.
Using the time slider at the bottom right, you will be able to scroll from one day to another. If you have uploaded the satellite images, the images are scrolled simultaneously. If you have uploaded several input files, they are displayed on top of each other to facilitate comparison.
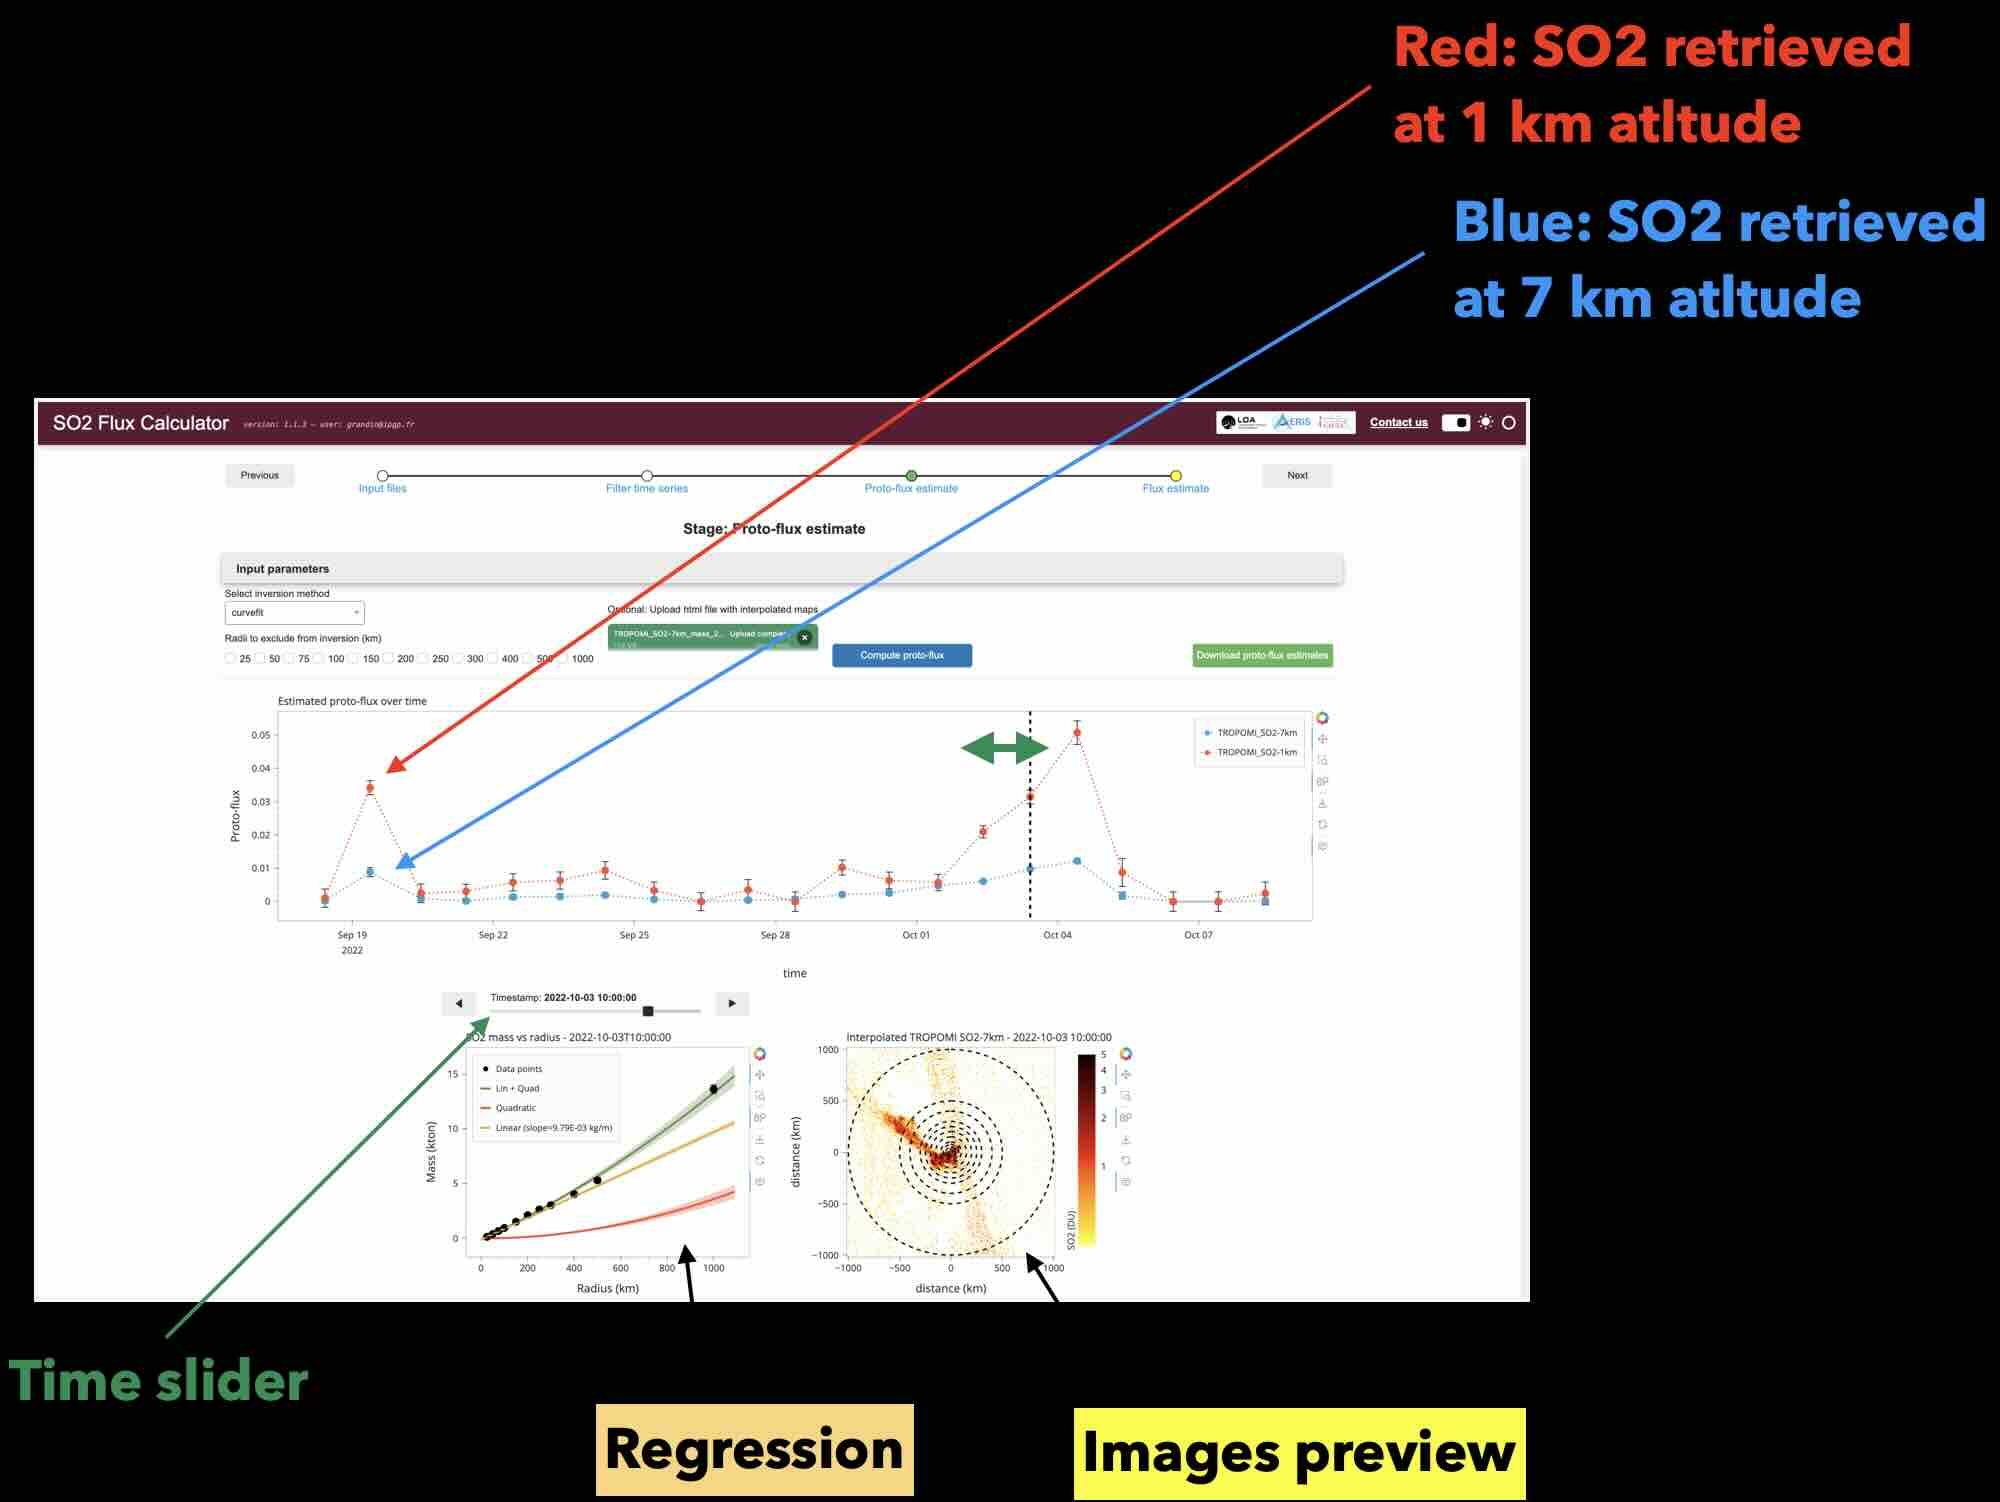
When the inversion has ended successfully, the time-series is displayed, and the regression result is also shown for quality assessment.
When you are ready to post-process the proto-flux, click on Next. This will bring you to Step 4.